How it works
Four easy steps and about ten minutes to create your video magic. Spend some time setting your camera up correctly for the best results.
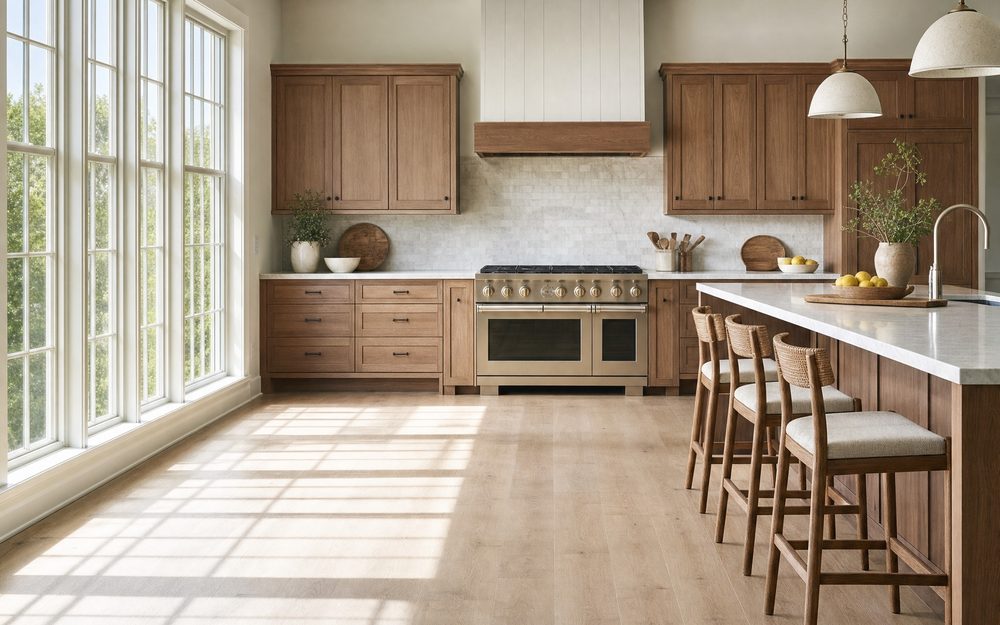
Choose a scene
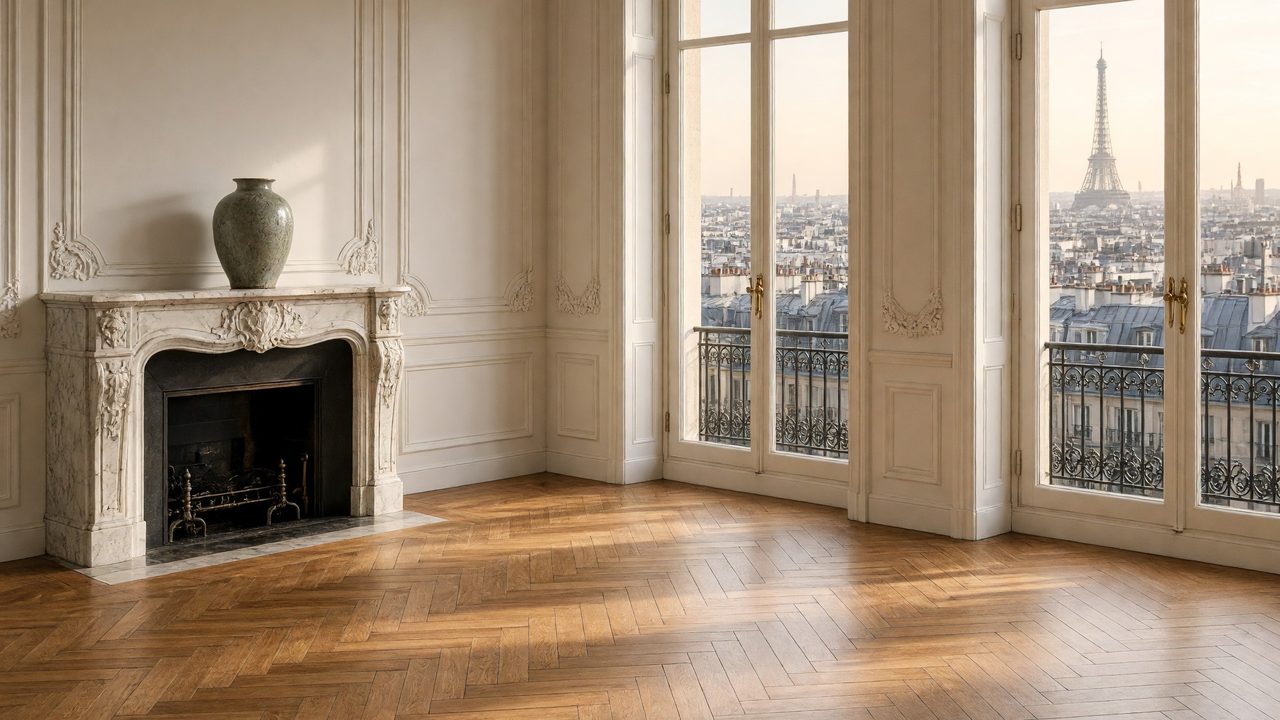
Upload a photograph of anywhere, pick one from the library, or describe a place and have it generated.
Browsing, generating and editing are all free. Nothing is charged until you render.
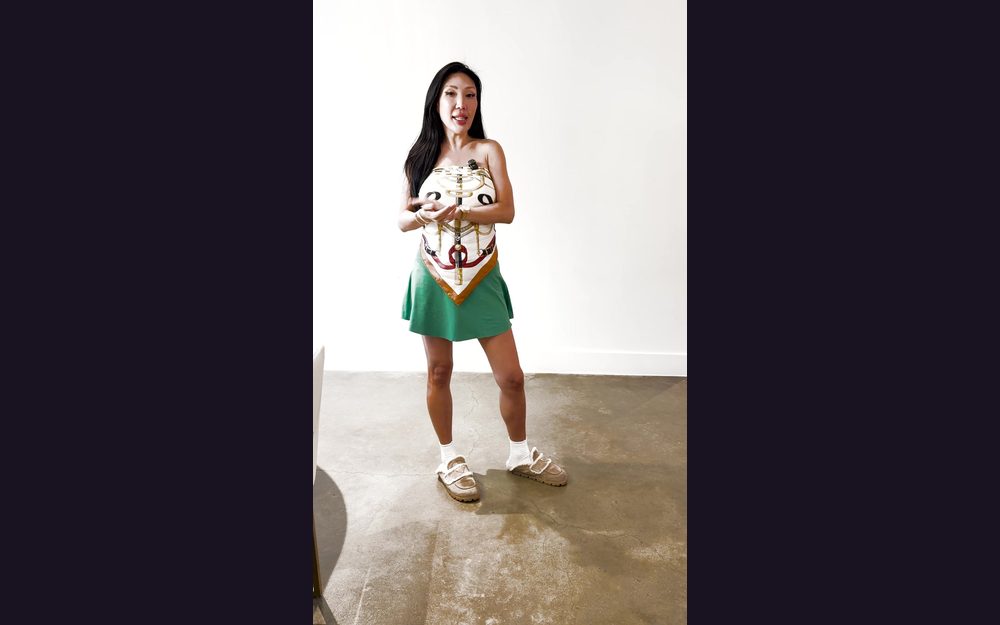
Record your take
Thirty seconds against a plain wall, phone on a tripod at chest height, full body in frame with your feet visible.
No green screen needed. Read the capture guide first — it is the step that decides the result.
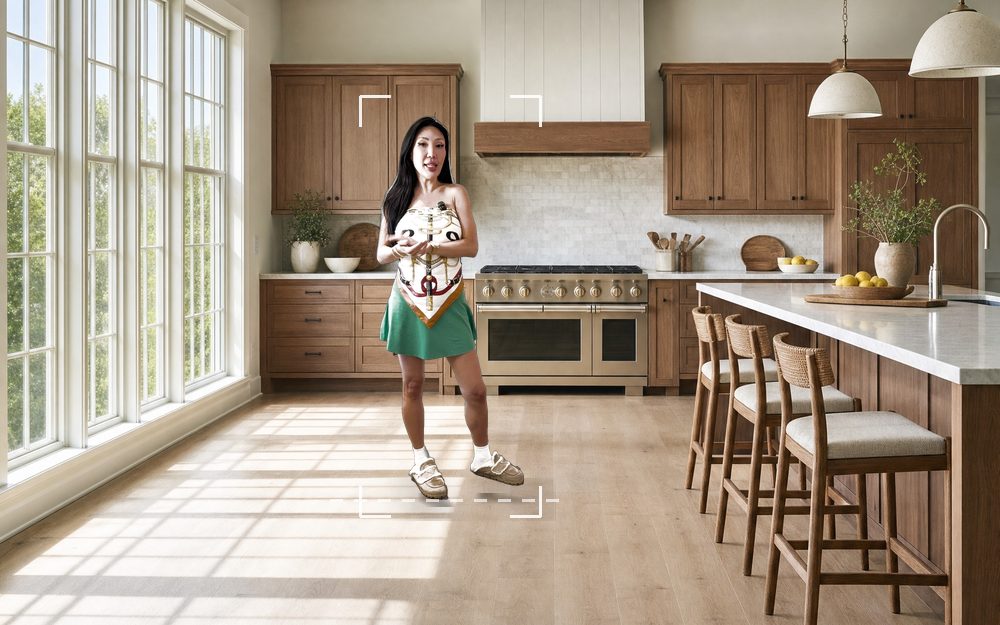
Place yourself
Size and position yourself in the scene until the scale reads right and your feet sit on the floor rather than above it.
Shadow softness and offset are yours to set too — hard sources throw hard shadows.
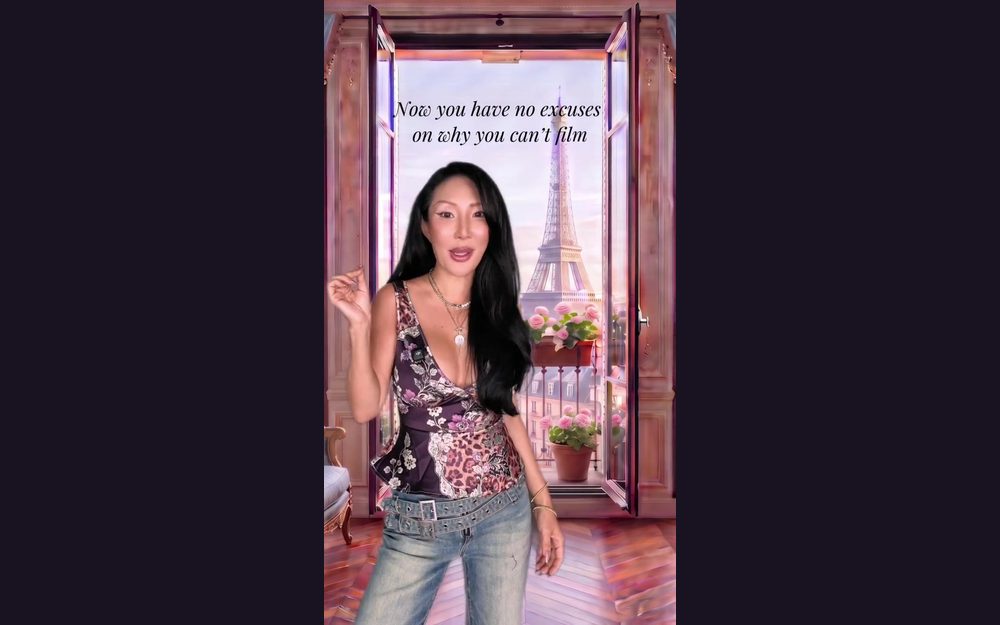
Render the final video
It comes back in minutes, in whichever format you need — vertical for Reels and Stories, wide for a listing page.
Finished videos stay in your account until you delete them.
Three ways to make a scene
Bring your own
A listing, a rooftop, a hotel lobby, a rendering of a house that does not exist yet. Upload it and the place in your video is the place in your photo.
Use our library
Scenes we supply, ready to step into. Free to browse, and you can change your mind as often as you like before you render.
Have it generated
Describe a place and the studio makes it. Free to try as many as you like. Videos made from one are labelled.
Where the movement comes from
All of it is added in the render, not filmed by you. A frame travels across the scene while you stand still, which is why the shot feels filmed instead of pasted.
It is also why you should never walk on camera. Before you shoot →